Recording your Windows PC’s screen can be an invaluable tool for creating tutorials, capturing gameplay, or documenting software issues. Whether you’re a professional or a casual user, knowing how to effectively record your screen can greatly enhance your productivity and creativity.
Recording your Windows PC’s screen can be an invaluable tool for creating tutorials, capturing gameplay, or documenting software issues. Whether you’re a professional or a casual user, knowing how to effectively record your screen can greatly enhance your productivity and creativity.
Screen recording on a Windows PC has become an essential skill for various purposes, including creating instructional videos, capturing gameplay, or documenting technical issues. This guide will walk you through the process of recording your Windows PC’s screen using built-in tools and third-party software, ensuring you get high-quality results every time.
Using Built-in Game Bar
Open the Game Bar by pressing `Windows Key + G` simultaneously. The Game Bar is a built-in tool in Windows 10 and later that allows you to record your screen without needing additional software. Once you press these keys, a toolbar will appear at the top of your screen.
Ensure that the Game Bar is enabled. If the toolbar doesn’t appear, you may need to enable the Game Bar feature. Go to `Settings`, select `Gaming`, and then choose `Game Bar`. Toggle the switch to `On` to activate it.
Click on the `Capture` icon on the Game Bar toolbar. This icon looks like a camera and is located on the left side of the toolbar. Clicking it will open the Capture widget.
Press the `Record` button in the Capture widget to start recording. The Record button is represented by a circle. Once you click it, the screen recording will begin, and a timer will appear, indicating the duration of the recording.
Stop the recording by pressing the `Stop` button on the Game Bar toolbar. This button is represented by a square icon. Once you press it, the recording will stop, and the video file will be saved to your `Videos` folder under `Captures`.
Using Microsoft PowerPoint
Open Microsoft PowerPoint and create a new presentation. PowerPoint is not just for presentations; it also has a screen recording feature that is simple to use.
Navigate to the `Insert` tab and select `Screen Recording`. This option is located in the Media group. Once you click it, a toolbar will appear at the top of your screen.
Select the area of the screen you want to record. Click on `Select Area` and drag your cursor to highlight the portion of the screen you wish to capture.
Press the `Record` button on the toolbar to start recording. Once you click this button, PowerPoint will begin recording your selected screen area.
Stop the recording by pressing the `Stop` button on the toolbar. After stopping the recording, the video will be embedded into your PowerPoint slide. You can right-click the video and select `Save Media As` to save it as a separate file.
Using OBS Studio

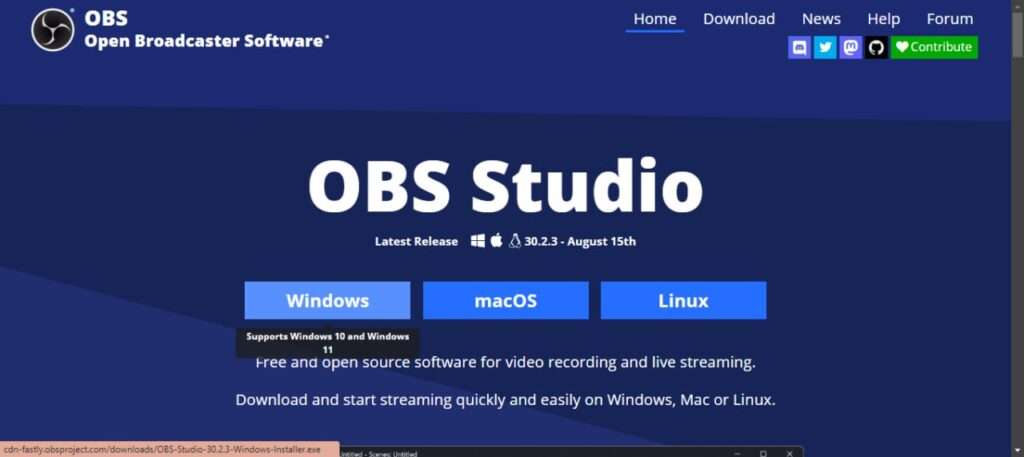
Download and install OBS Studio from the official website. OBS Studio is a powerful, free, and open-source software for video recording and live streaming. You can download it from [OBS Studio’s official website](https://obsproject.com/).
Open OBS Studio and configure your settings. When you first open OBS Studio, you’ll need to configure some initial settings. Follow the on-screen instructions to set up the software according to your needs.
Add a new `Display Capture` source. In the Sources box at the bottom of the OBS window, click the `+` button and select `Display Capture`. This will allow OBS to capture your entire screen.
Name your source and select the display you want to record. A new window will pop up asking you to name your source. After naming it, choose the display you want to record from the drop-down menu.
Click the `Start Recording` button to begin recording. This button is located on the right side of the OBS window. Once you click it, OBS will start recording your screen.
Stop the recording by clicking the `Stop Recording` button. After you finish recording, press the `Stop Recording` button, and the video file will be saved to your default location, which you can change in the settings.
Using Camtasia

Download and install Camtasia from the official website. Camtasia is a premium screen recording and video editing software that offers a wide range of features. You can download it from [Camtasia’s official website](https://www.techsmith.com/video-editor.html).
Open Camtasia and select `New Recording`. This option is available on the main interface when you open the software. Selecting it will open the screen recording toolbar.
Customize your recording settings. Choose whether you want to record the full screen or a custom area. You can also select additional options like recording system audio or adding a webcam feed.
Press the `Start Recording` button to begin. Once you have configured your settings, click the `Start Recording` button to begin capturing your screen.
Stop the recording by pressing the `Stop` button on the toolbar. After stopping the recording, the video will be automatically imported into Camtasia’s editor, where you can make further edits before exporting the final video.
Using Bandicam

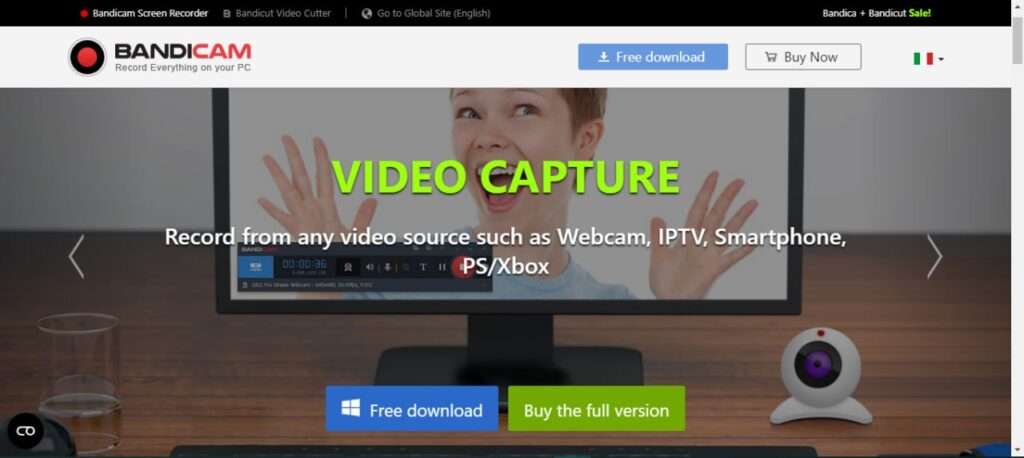
Download and install Bandicam from the official website. Bandicam is a lightweight screen recording software that offers high-quality recording capabilities. You can download it from [Bandicam’s official website](https://www.bandicam.com/).
Open Bandicam and select the recording mode. Bandicam offers several recording modes, including `Screen Recording`, `Game Recording`, and `Device Recording`. Choose the mode that best suits your needs.
Adjust the recording settings. You can customize various settings, such as the recording area, audio sources, and video quality. Make sure to configure these settings according to your preferences.
Press the `Record` button to start recording. Once you have set up everything, click the `Record` button to begin capturing your screen.
Stop the recording by pressing the `Stop` button. After you finish recording, press the `Stop` button, and the video file will be saved to your specified location.
Recording your Windows PC’s screen has never been easier with these built-in tools and third-party software options. Each method offers unique features and benefits, allowing you to choose the one that best fits your needs. Whether you opt for the simplicity of the Game Bar or the advanced features of OBS Studio, you can confidently create high-quality screen recordings for any purpose.


