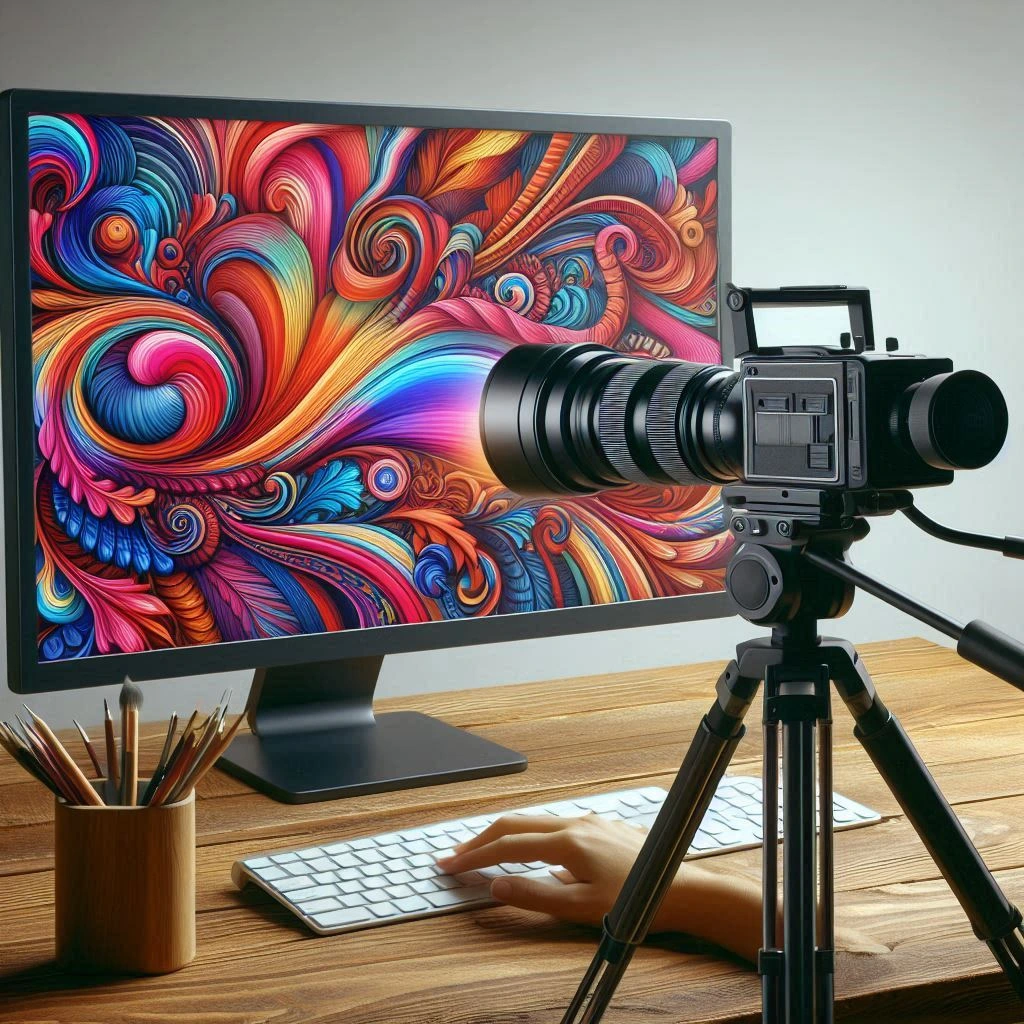
Recording video with your PC can be an incredibly useful skill, whether you’re creating content for social media, recording a webinar, or capturing gameplay. This comprehensive guide will walk you through the process step-by-step, ensuring that even beginners can successfully record high-quality videos on their PCs. By following this guide, you’ll be able to navigate the software and hardware choices available, set up your recording environment, and troubleshoot common issues to achieve the best results.
Understanding Your Video Recording Needs
Determine the purpose of your video recording to choose the right tools. Before diving into the technical aspects, it’s essential to identify why you are recording video. This could range from creating professional content for a YouTube channel, capturing gameplay for a Twitch stream, or simply recording a video call for later reference. Each purpose may require different software or settings, so understanding your needs will guide your decisions on software and hardware.
Choosing the Right Software

OBS Studio: An open-source powerhouse for video recording. OBS Studio is one of the most popular free software choices for recording and streaming. It offers a wide range of features including scene composition, video transitions, and an extensive set of configuration options. With its open-source nature, it allows for a high degree of customization and is supported by a vast community that contributes plugins and support. This makes OBS Studio suitable for both beginners and advanced users who need flexibility and power in their video recording software.

Camtasia: A user-friendly option for beginners. Camtasia is a paid software that provides an intuitive interface for video recording and editing. It is ideal for those who are new to video production and need a straightforward tool that can also perform basic editing tasks. Camtasia comes with built-in effects, transitions, and a library of music and sound effects to enhance your videos. Its screen recording capability is particularly useful for creating tutorials and presentations.

Bandicam: Perfect for capturing gameplay. Bandicam is a lightweight screen recorder specifically designed for gamers. It allows you to record high-quality video at a high compression rate, which is essential for gaming where performance is key. Bandicam supports hardware acceleration, which can help maintain your game’s performance while recording. It also offers features like webcam overlay, real-time drawing, and scheduled recording, making it a versatile choice for gamers.
Setting Up Your Recording Environment
Optimize your workspace to minimize distractions and maximize video quality. To ensure your recordings are professional and free of interruptions, it’s crucial to set up a conducive environment. Choose a quiet room with good lighting, as poor lighting can affect the video quality significantly. Natural light is ideal, but if unavailable, consider investing in affordable LED lights. Declutter your background or use a backdrop to keep the focus on you or your subject. Additionally, inform those around you of your recording schedule to minimize interruptions.
Configuring Your Software
Adjust settings in your chosen software for optimal performance. Once you’ve chosen your software, spend some time configuring it to suit your needs. This involves selecting the appropriate resolution and frame rate, which will depend on your recording’s purpose. For instance, a 1080p resolution at 60fps is generally suitable for gameplay, while 720p at 30fps might suffice for a video call. Ensure your audio settings are configured to capture sound from your microphone and system audio, and test these settings before starting your recording session to avoid common pitfalls.
Testing Your Setup
Conduct a test recording to identify and resolve potential issues. Before starting your main recording, perform a test to check both video and audio quality. This will help you identify any issues such as lag, poor audio quality, or incorrect resolution. During the test, speak and perform the actions you plan to record to ensure everything is captured clearly. Review the test footage carefully and make necessary adjustments to your setup, including audio levels and video quality settings, to ensure a smooth recording experience.
Recording Your Video
Begin your recording session with confidence and preparation. With your setup tested and configured, you are ready to start recording. Launch your software and begin your recording session. Make sure to keep an eye on the recording indicators to confirm that the software is capturing your video as expected. It’s helpful to have a script or outline handy to keep your recording focused and concise. Remember to take breaks if your recording is lengthy to maintain energy and enthusiasm throughout.
Editing Your Video
Enhance your recording with post-production editing. Once you have completed your recording, it’s time to edit the footage to improve its quality and engagement. Use your chosen software to cut unnecessary parts, add transitions, and insert titles or annotations where needed. Pay attention to audio quality, adjusting levels, and removing background noise. If your software supports it, consider adding background music or sound effects to make your video more dynamic. Editing is a crucial step in ensuring your final product is polished and professional.
Exporting and Sharing Your Video
Choose the right format and platform for sharing your content. After editing, export your video in a format that is suitable for your intended platform. Common formats include MP4, MOV, and AVI, with MP4 being the most widely supported. Consider the platform’s recommended settings for resolution and bitrate to ensure compatibility and quality. Once exported, share your video on your chosen platforms, whether it’s uploading to YouTube, sharing on social media, or sending via email. Make sure to include relevant descriptions and tags to optimize your video’s reach.
Troubleshooting Common Issues
Address common challenges to improve your recording experience. Despite careful preparation, you may encounter issues during your recording process. Common problems include audio sync issues, dropped frames, or software crashes. For audio sync issues, ensure your microphone and system audio are properly configured in your software settings. Dropped frames may require lowering your resolution or frame rate, or ensuring your PC’s resources are not overtaxed. In case of software crashes, keep your software and drivers updated, and consider reaching out to the software’s support community for assistance.


