Uploading videos to Instagram from your PC can streamline your content creation process, making it easier to edit, store, and manage your videos before sharing them with your followers. This guide will take you through a detailed, step-by-step process to upload videos from your computer to Instagram, ensuring you don’t miss any critical steps. Whether you’re a social media manager or a content creator, this method will enhance your Instagram experience.
Understanding the Need to Upload Videos from PC
Instagram is primarily a mobile-first platform, but many users find editing videos on a computer more efficient. The larger screen, advanced editing tools, and storage capacity make PCs a preferred choice for video editing. Therefore, knowing how to upload videos directly from your PC can save you time and effort, especially if you manage multiple accounts or produce high-quality content regularly.
Step 1: Prepare Your Video

Ensure your video is ready for upload. The first step is to ensure your video is optimized for Instagram. Instagram supports various video formats, but MP4 is the most recommended due to its balance between quality and file size. Keep your video within the 60-second limit for regular posts or up to 10 minutes for IGTV. Ensure the aspect ratio is suitable for the platform, with the common ones being 1:1 for square videos and 9:16 for stories or IGTV. Using video editing software on your PC, such as Adobe Premiere Pro or DaVinci Resolve, can help you achieve the desired format and quality.
Step 2: Use a Third-Party Tool
Leverage third-party tools for uploading. Since Instagram’s web version doesn’t allow direct video uploads, you need to use third-party tools. These tools provide an interface that mimics Instagram’s mobile environment, enabling you to upload videos directly from your PC. Tools like BlueStacks, Gramblry Later are popular options. They each offer unique features that cater to different user needs, such as scheduling posts or providing analytics. Choosing the right tool depends on your specific requirements and budget, as some may offer free versions with limited capabilities, while others might require a subscription for advanced features.
BlueStacks

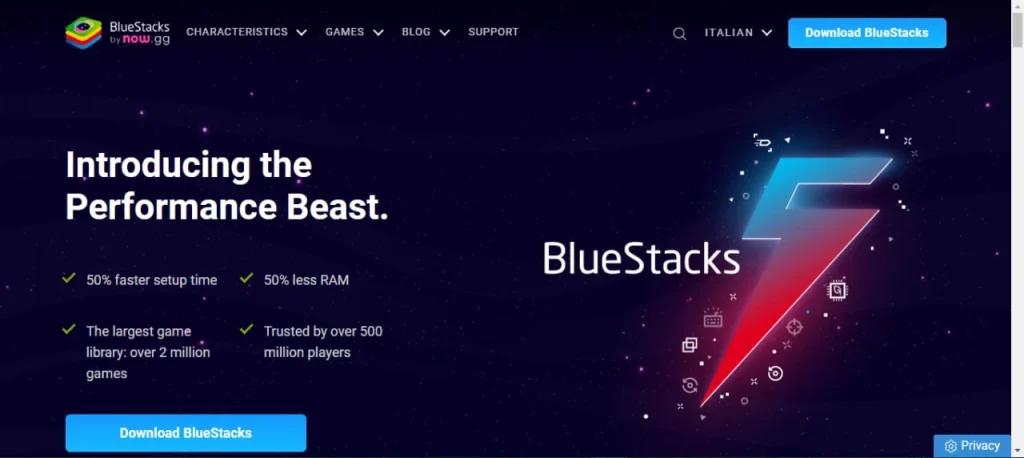
Use BlueStacks to emulate Android on your PC. BlueStacks is an Android emulator that allows you to run Android apps on your PC, including Instagram. After downloading and installing BlueStacks from their official website, you need to log in with your Google account to access the Google Play Store. From there, download the Instagram app just like you would on a smartphone. This method gives you full access to all Instagram features, including video uploads. BlueStacks is free to use, but be aware that it may require significant system resources, which could affect performance on older computers.
Gramblr

Opt for Gramblr for direct uploads. Gramblr is a desktop application specifically designed for uploading photos and videos to Instagram from your PC. After downloading and installing Gramblr, create an account or log in with your Instagram credentials. Gramblr provides a simple drag-and-drop interface for uploading videos. It also offers basic editing tools and features like scheduled posting. While Gramblr has been a popular choice, it’s essential to note that support for the tool may be inconsistent, and security concerns could arise as it requires direct access to your Instagram account.
Later

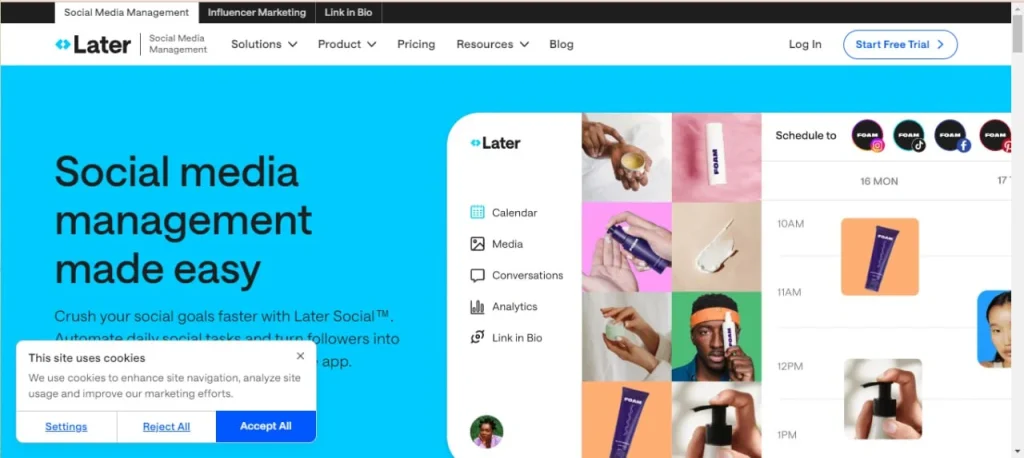
Consider Later for comprehensive social media management. Later is a powerful social media management tool that supports video uploads to Instagram from your PC. Unlike BlueStacks and Gramblr, Later is web-based, meaning you can access it from any browser without additional software. Later allows you to schedule video posts, plan your Instagram feed, and analyze post performance. It’s an excellent choice for businesses or individuals managing multiple accounts. Later offers a free version with limited features, while premium plans provide more comprehensive options, including detailed analytics and additional posting capabilities.
Step 3: Upload and Optimize Your Video
Upload your video using the chosen tool. Once you have selected and set up your preferred third-party tool, follow the tool-specific instructions to upload your video. During this process, ensure your video description is engaging and includes relevant hashtags to maximize reach and engagement. Craft a compelling caption that resonates with your audience and aligns with your brand message. Consider tagging relevant users or adding a location if applicable. These elements can significantly impact your post’s visibility and interaction rates.
Step 4: Review and Publish
Review your video post before publishing. Before hitting the publish button, take a moment to review your video post. Ensure the video quality is up to standard, the caption is error-free, and all tags and hashtags are correctly placed. Check the video playback to ensure it runs smoothly without any glitches. Once you’re satisfied with the post, go ahead and publish it to your Instagram feed or story. Keep in mind that consistency is key on Instagram, so consider creating a posting schedule to maintain regular engagement with your audience.
Final Thoughts
Embrace the efficiency of uploading from a PC. By mastering the process of uploading videos to Instagram from your PC, you can significantly enhance your content creation workflow. This method not only saves time but also allows you to leverage the powerful editing tools available on your computer. Whether you choose BlueStacks, Gramblr, or Later, each tool offers unique benefits that cater to different needs. Explore these options and find the one that best suits your Instagram strategy.


